Translate

Saturday, October 29, 2011

basic CQ flip and fold tutorial


mark your foundation with a 1/4" seam


 Ok, someone form the nubi side asked if I could do a tut on how I do basic cq flip and fold.
add fabrics around your focal point
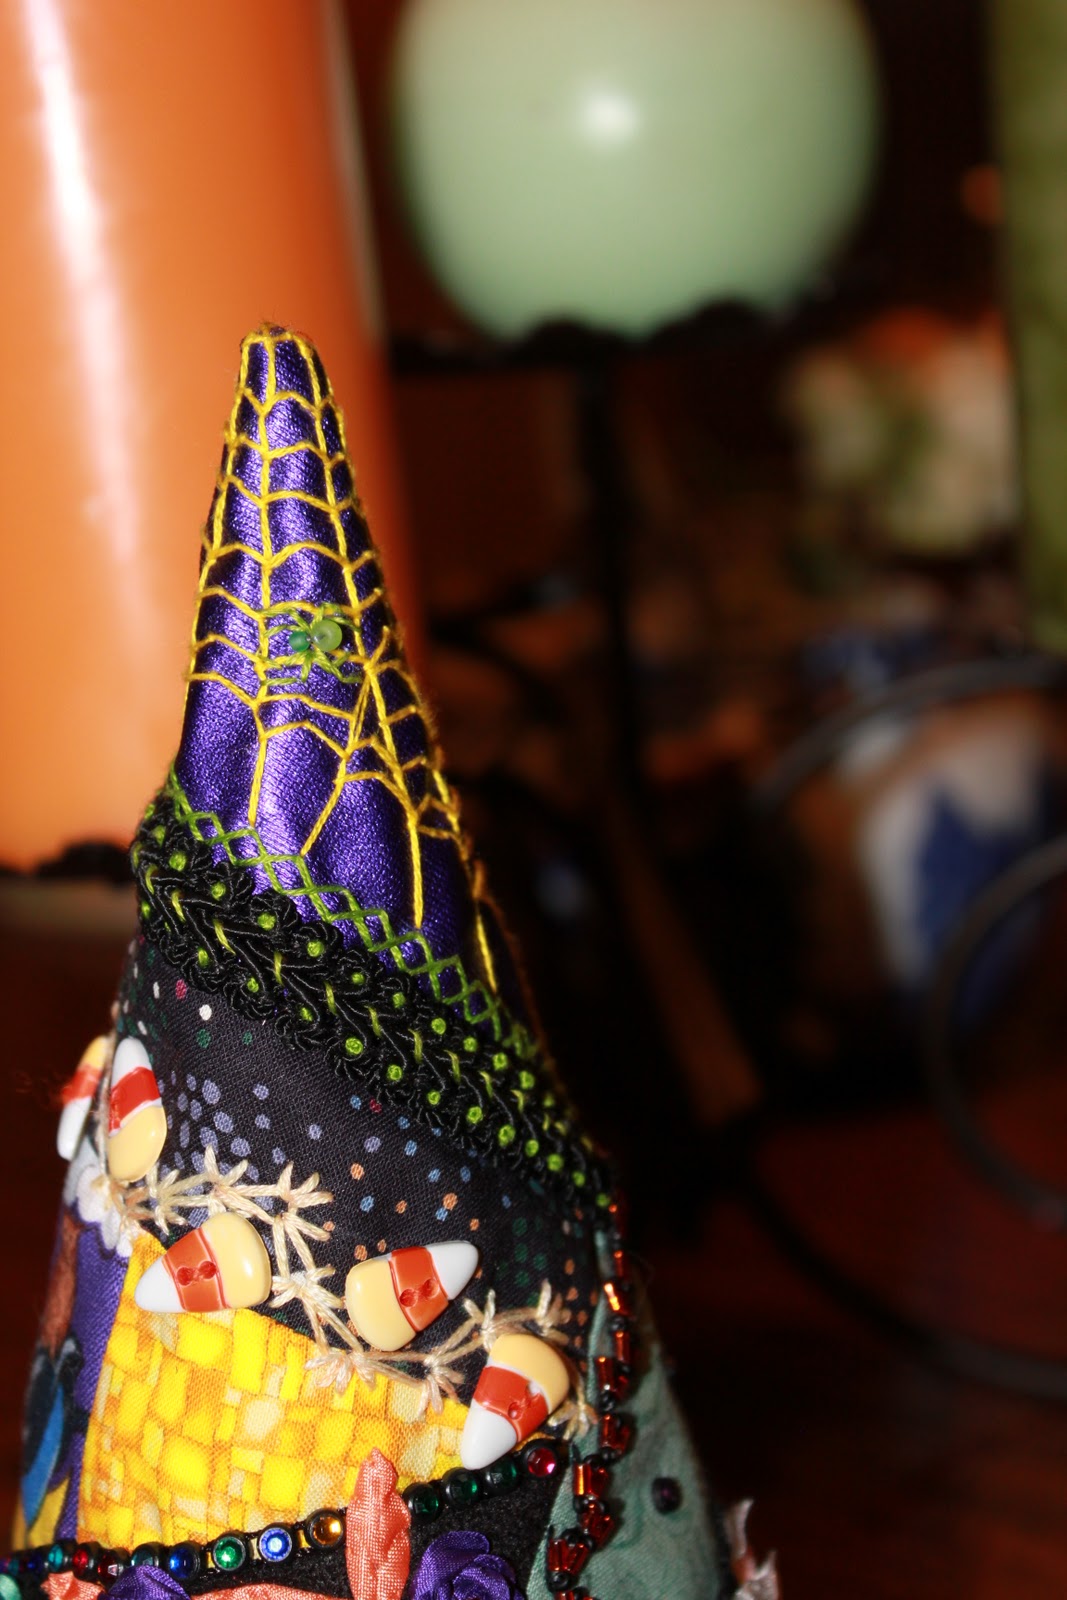
this is in response to wanting to know how I did my witchy-poo hats.
I know the piece I'm showing you all "how to" is not a witchy-poo hat but I do them all pretty much the same way, so here it goes!

pin down and sew
start with your muslin base (calico for you oversea's)
you need at least 2" to overhang outside your fabric square
(or whatever shape your sewing) for the hoop, if you use one,
then mark the outside line, this is the line where your fabric stops.
then make a line to mark a 1/4"-1/2" seam allowance.
(which ever is more comfortable for you)
trim your edges
this is the seam you DO NOT under any circumstances put any beading, buttons, metal embellishments, etc.
you can embellish and bead up to this line but no farther.

if you go beyond this line with the hard embellishments, you can't turn the seams or sew through them on sewing machine, without doing damage to yourself, the machine or the cq piece your working on and sometimes all 3!
flip and iron
I have already made this mistake, a few times, no need for you to suffer!

I like to mark these lines with a sharpie as the odds that your going to see them through the fabric are very small, unless your working with a lot of shears, in which case you should have a layer of misty fuse or another comparable stabilizer beneath that for endurance.
do it again!

now that you have marked your foundation its time to sew down the fabrics.
you will want to start somewhere in the middle (not like I did, at an end)
to better work your way around the piece.

start with an off cut focal fabric, fabric picture not a silkie.they are to delicate. I like odd shaped pentagon, the 5 sides give you more diversity in patches.
don't forget to trim your edges
I start with one of the longer edges, so you don't end up with teensy weensy bits. place your next fabric, wrong side up.

pin at at least 2 points and sew down. when using slippery fabric like silk or velvet pin more!

flip the fabric over and iron your seams.
I like to use a little spray starch on
the back for stabilization with slippery or thin fabrics.
ironing each patch is key

you also want to trim any bits that overhang or slop over.
rinse and repeat until your whole block is filled up!

I have used a dark thread so hopefully you can see it in the pics
here is the back of my piece, so  you can see how the seams look this way
finished block all trimmed up with it's corners pinned
(almost no one shows you the back of their work)

when your done filling in the block you want to do 3 things
sew the zig-zag and 1/4" seam allowance from the back


1) make sure all your corners are held down with pins
2) sew around your outside edge with a zig-zag stitch, trim the excess fabric
    (this is why you need to use a sharpie to mark your edges)
3) then sew a 1/4" to 1/2" seam allowance with the longest straight stitch your machine will do.
finished seam work and edging
completed block
     

now the fun stuff begins! time to figure out which way is up and what you want to put on your block!

I hope this is helpful.

for you newbies out there welcome to our the wonderful crazy world!)

Wednesday, October 19, 2011

Sharon Boggins on line class


I am taking Sharon Boggins encrusted crazy quilting class on line so for the next 6 weeks I will be working on a block or two for it and hopefully getting a few other things done. I have the usual backload of stuff that needs to be worked on "RIGHT NOW!" and other things I have been putting off because I'm just lazy, or busy, or distracted, or all the above :)
and then there is the Yule tide just around the corner, aakk!
here's what I have so far,

Monday, October 10, 2011

witchy-poo 3


This one is more off he traditional black witch's hat

i also tried for more uniformity in color so the hat wasn't to garish,


with just enough color to grab your attention


i love how the besom turned out don't you?


when we were in Pennsylvania dutch country for a vacation I remember barns having these sort of circles painted on their sides for protection from evil spirits


 this embroidery run reminds me of  corn fields just before they cut them down for feed


and one musn't forget the wise old owl or spooky cat

Friday, September 30, 2011

Withi-poo 2

 another witchi-poo is done!


now i have 1 more to finish and a small something-I haven't decided yet what it should be.


any suggestions?  it's a 6" square approximately


 just as colorful as these lovely darlings


 but what should it be?
Purse, table mat, wall-hanging?
I don't know!


 anyway as you can see this one is much like the other spiders, dragonfly's, witchy sayings, pumpkins
these are fun to make, they are about 12"high and 10" in diameter  any size tussy mussy pattern will do (i used a dinner plate for the brim!)

then get out all the creepy bugs and spiders you can find and go to town!)

I lined these as well so in theory they can be worn all one would need to do is sew in a hair band or combs.
they are just big enough not to look silly!

and homecoming is coming up with all the dress drama and OMG! that that entails. it's to be semi-formal this year which means all the girls are wearing formals and all the boys are wearing what they can get away with!
dd's date has decided on skinny jeans and combat boots with the union jack on the toe and she has decided on a very nice midnight blue velvet with spangles and silver shoes. somehow I don't think he's going to win this one!)

Friday, September 23, 2011

here comes the sun

Remember the beatles song, here comes the sun?
I was singing or humming it the whole time i stitched this piece!


I put a nice big spiderweb on the side because you can't go anywhere in the garden with out walking into one!


I started this sometime in march and we had nothing but rain, rain, clouds and cold till august so no wonder it took so long to finish!


who can get inspired to sew sunny when all you have is overcast cold and dreary.


I covered it with a dragonfly a butterfly and loads of flowers


to remind me of bright sunshinny days that are so few and far between here and all the more precious for that!

Tuesday, September 20, 2011

witchi-poo mini


well I've finished something and boy am I pleased with myself!
not as pleased as if I got more done but pleased none the less!)

I've made another witchi-poo hat this time 1/2 size.
more for decorating than wearing though I suppose you could,
it's not that small!


it's more of a cutsie version than my original but that one was for me and this one is for whomever gets to it first when I post it to ETSY.

it's got a little of everything though, a spider


 bats flying 


a dragonfly curling around the top


some yellow SRE roses on it and on the brim

seam treatments, embellishments and beading, OH My!

Saturday, September 17, 2011

soul can hope

I am going to be bouncing around the verses from here on out because the tree part is going to take longer than I anticipated and I may mash the rest of the verses into less pieces.

i haven't lost interest just time due to life stuff, which is what I thought would happen.

 the verse for this piece is
"which grows higher than soul can hope"
And I thought the bird does a better job at showing the "soul hoping' concept than it did the "whatever is done" concept.

so I embroidered the body first

and then the wing, beaded it and attached it


then I added the tail, stuffed it and put a pin on the back. it still needs some dangly beads for the tail but I haven't found the right ones yet.


LinkWithin

Related Posts with Thumbnails