Translate

Wednesday, April 24, 2019

Everette Quilt show

I was putting it off but now it's here and I am having a serious bout of WHADIDIDooo!
I have entered 4 of my crazy quilts in the Everette quilt show this weekend, April 25th-27th.
 
I am to be judged and I am nervous! Will this be good? bad? will no one notice?
why do I feel like I'm going out on my first date on live tv? Oh and I'm 14 again. UGH!
I do this as a challenge to myself. One doesn't know if one is any god until you go out and show other people right? the worst they can say is, Meh. Right?

Saturday, April 20, 2019

Applique a little

 This is what I do when I'm busy doing nothing

That is to say Binging on a favorite show or watching TV in the evenings with my Hubbs


I am trying to use all my big scraps from my bin

in a bid to empty the sucker out
but it keeps filling back up


I don't get it

I've 3 of 9 panels done so far

Lets see how far I get before
"short attention span theater" hits again


 I still have that felt rug to finish

2 more charity quilts to quilt

The hawaii panels to sew

my self-imposed "scrap bin of doom" project

A new skellie

2 done quilts to bind

I can never die, I have to much to do

I joke but its true, who else is going to use up my fabric stash?

Tuesday, April 16, 2019

Hawaii Shop-Hop Pineapple quilt for 2019

So you all have seen some of these pictures before

These are just some of the fun I brought back from our trip to Hawaii's big island in February

If you can go to Hawaii, I recommend going in February,

The hotels are not full of tourists,

The weather is cooler than the summer but still beats the hell out of snow

And the Big Island Shop-hop goes on for the entire month!

For anyone familiar with Western Washington's annual Shop-hop. ( june 21-29)
It's the shops way of thanking customers for their patronage.

You go around to all the shops,
         that are left, (Grumble, grumble, fuss, fuss)
gather a free pattern or a kit if you spend x$ and you have a fun project to do.


Here are all the patterns from the 5 shops around the Island

Row #1 red

Kiluea Kreations in volcano village

BTW each kit had up to 5 full fat quarters to work with so this could all have been done any which way with fabric to spare


Row #2 the yellows

Fabric and Quilting Delights in the Kona hills

And as you can see I did mess  bit with their color way

There was more orange in this row


Row #3 the greens

Top Stitch in Honoka'a


Row #4 the blues

Quilt Passions in down town Kona


 Row 5# the Purples

Kiluea Kreations in Hilo


Here's the flimsy all done with top and background


The top all quilted up pretty,

No binding yet, I'm thinking a dark green


Here's my close up Mr. DeMille!


Saturday, April 13, 2019

Stripping for relaxation

organizing the pile
Now, now what did you think I meant?
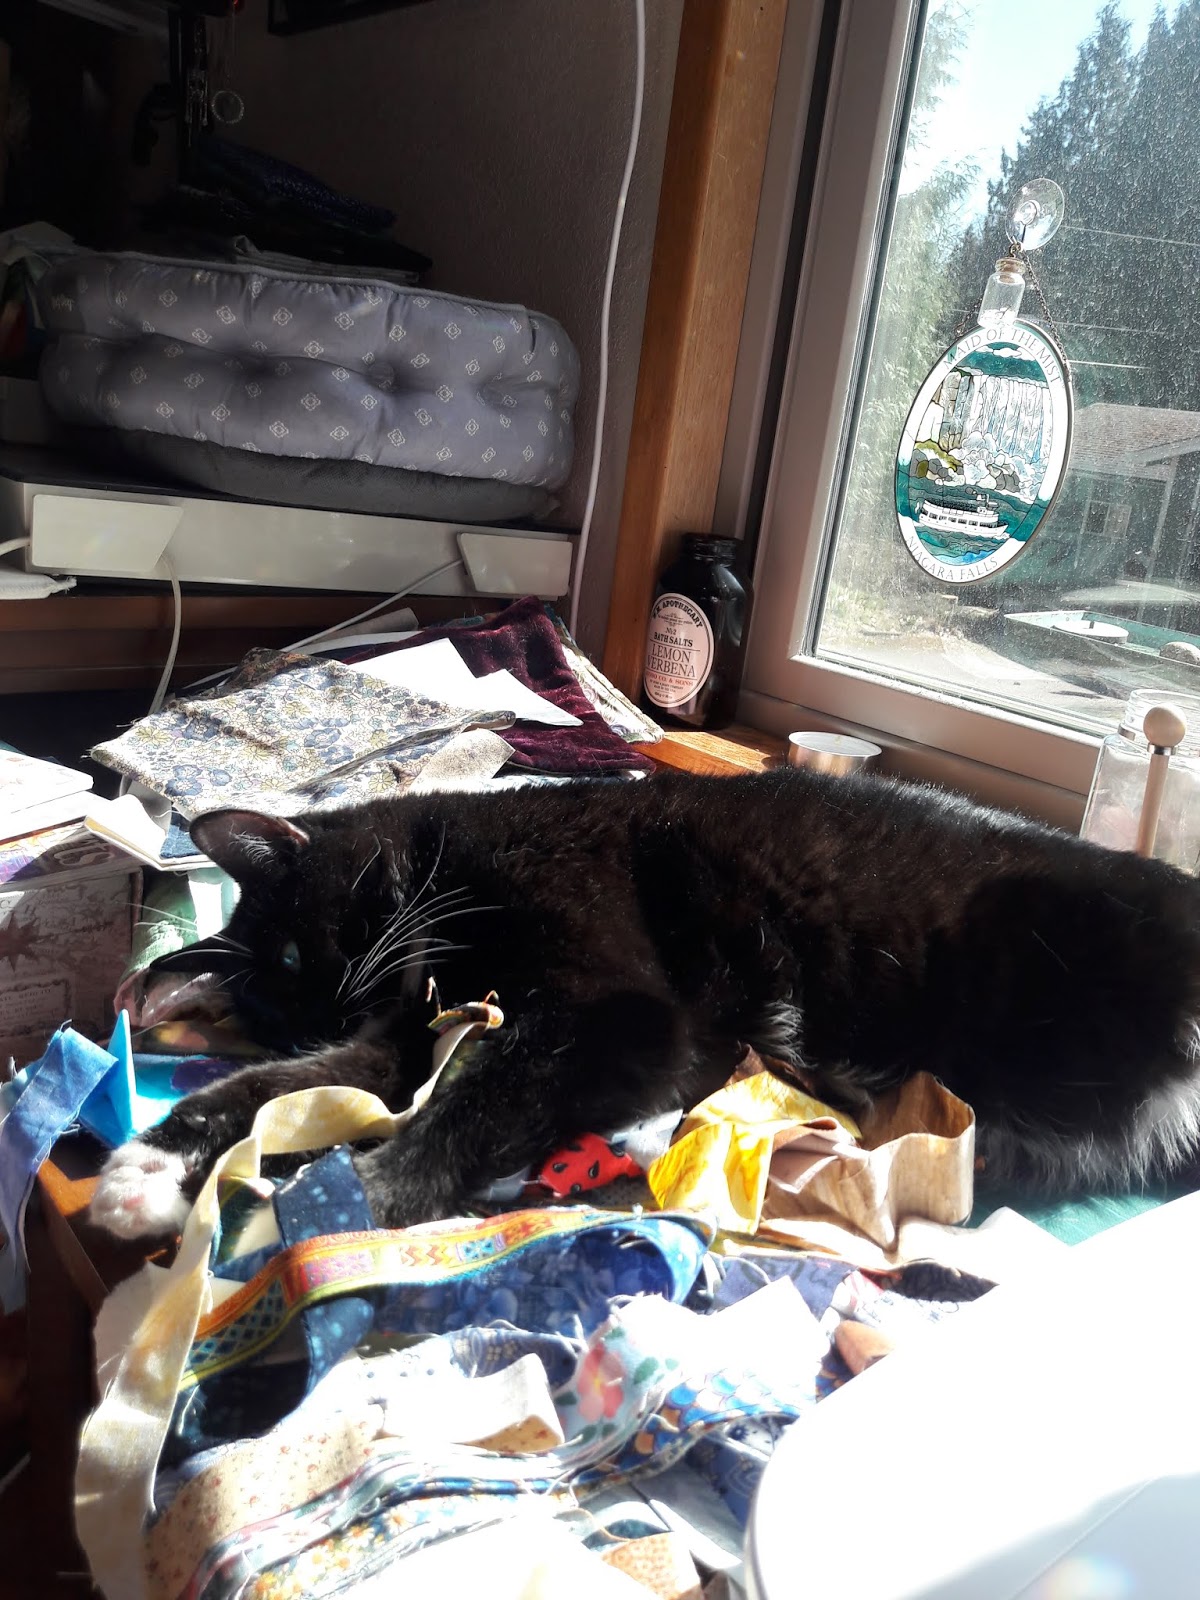
Ms.Mollyfuzzybutt helping
Nap time
So much helping!
I'm not that kind of girl.........  Really 
Though she might be

When one quilts a lot one is faced with a pile of oddments, so,


when the pile starts to get overwhelming one must do something with them

  I get rid of so many 1/2" to 1 3/4" strips
by either piecing them width wise on an 8"or 10" square or making log cabins out of them
 when there are lots of small pieces to deal with

but it all ends up looking like Molly played in the pile while I'm working on it


Y you clean my bed?


She is very insistent that she be  involved with every quilting decision


Here's my newest challenge

A pattern by Christa Moser

She calls it Entangled Sky if you want one go to her web page Here

I suggest going anyway to see her other quilt patterns too

Lots of fun on that page.


'Scuse me I has a hungry


 Here are the fabrics I will be using for mine


I even have a few blocks done

see easy peasy!

Tuesday, April 9, 2019

What is going on when I'm not busy sewing

Sun room cabinets
We just bought my MIL a trailer, in the 55+ park,

down the hill from us. As she has expressed a desire to nEver live through another Chicago winter!
Its a basic trailer nicely laid out with a sun room in the front, moving into the kitchen to the living room down a hall with, 2 bedrooms and a bath. A nice little cozy nest, for an 87+ year old lady, to putter in.
Close to shops/doctors and transit to get around or us to drive her and it puts her a mere mile away instead of the 2010, in case she needs us.

The trailer park is snuggled into a nice wooded space, with manicured walks between trailers and a waterfall! Very pretty and very clean. I've even met a few of the neighbors, in the process of cleaning up.  I think Mom will like it here.

*WARNING!
*RANT IN PROGRESS!*
Kitchen cleaning in progress

My youngest DD and I have spent the better part of 5 days cleaning the sucker out.

Bless her fuzzy little soul, for helping out with her step-grannies new place.

The husband/wife we bought the trailer from, seem to have never heard of the concept of cleaning under/around/behind things, or in fact to have ever moved anything TO clean.

DD#2 washing walls and a wood stove!
Not that they left much behind except a few things scattered in random drawers, which you would expect, the dirt on the walls, shelves and that old "cooked chicken" smell, in the fridge, which I didn't.
Owing to the assiduousness with which the wife sprayed fabreez EVERYWHERE.

I now understand why. *deep sigh*

How does one get rid of thAt smell?
That smelly, smell. That smells,.........smelly.

ugh. 

View from the hall
Though It took most of the day the Fridge is now clean and free of the crusted on dry "stuff" that was under/between the holders for the glass shelves. Yeccchhh!

Then there was the christmas wrapping paper and in one case, part of an old pick-nick cloth, with the fuzzy side elmers glued to the shelves!

The stovehood has been HOT GLUED o0! in places,
there is that expanding foamy stuff under both the kitchen and bathroom sinks
Oh! your taking the picture now? Really?
and the "new" shower surround has been repaired with caulk. o.0!

I expected a degree of deep cleaning was gong to be in order and a bit of things that need to be fixed, It is a 45 year old trailer after all.

But not having to scrub down the walls/ceiling of the cruft of years!

You know your in trouble, when the walls change color as you clean.
When the pine-sol your using makes runnels that are a different shade of grey from the one you are currently working on,  Eeeeew!

Did I mention they had 2 yappy dogs and a parakeet? No? Well they left us Something too in the way of a few feathers and enough dog hair,  dug so deep into the carpet and the rugs they left behind, to make another dog.

ThAnk goodness for the rug cleaner we got, years ago, to tackle the 20 year old carpeting in our own house!
Bedroom #1 small

I used 2 bottles of carpet cleaner on what amounts to 4 rooms of carpeting.
And I still have to vacuum one more time, to get rid of the dog balls left behind by the carpet cleaner.


This all amounts to what my Ex-hubbs used to call "Turkey-bird" engineering and has me muttering dire things under my breath.

All that being said, It's still a very nice trailer.

I would live in it.

Having had to clean a myriad of apartments in Chicago before moving into them this one was a 3. On a scale of, 1 being very clean to 5 being, OMG! fuck you people!

So all in al not too bad.

Sorry for the rant but I needed to vent,
Bedroom #2
or I'd explode all over someone who, probably won't deserve it.

This is when you start sizing up all the things you don't "get around to"at home and just how much does it bother you that you've never cleaned behind/around/under that?
I have come to the conclusion that other peoples dirt bothers me way more than mine

and Id rather sew.

Friday, March 8, 2019

How I made the Suffragette doll

First special tools you will be needing to make your job easier,
 a light iron on fusible web for lining the body parts. 
It helps to keep the parts from looking lumpy after you stuff it.  
Its also handy for drawing out the pattern pieces on It also helps to keep your stitching hold firm.

A pair of hemostats for turning the arms and legs I can't stress this enough, You need a pair! 
The turning tool is nice but I only use it for the bigger body part.

First thing you are going to do is draw and cut out the body parts from fusible webbing, I like to have 2 coordination fabrics for the body and sleeves and one for the "pants" then  there is the "skin" fabric.
leaving a 1/4" seam allowance so there is a line to follow when sewing.
you will need 4 arms, 4 legs and 2 bodies. The pattern comes from Tilda's seasonal by Tone Finnanger.

Since the legs are bigger at one end then taper to a thin point, I like to cut out a piece of fabric for the pants and one of "skin"for the bottom then sew them together at the knees,
iron on the webbing on the wrong side of the fabric (ask me how I know!) do this for 4 legs pin them all right sides together and follow your seem line.
repeat this for the arms, giving yourself "sleeves"of the body fabric
Try turning the legs first as they are a little bigger and will give you some practice before trying the smaller arms.
put the hemostats into the leg all the way to the toe, you will be crinkling up the fabric quite a bit here. dont worry it will all come out in the stuffing.
now with one finger in between the points of the hemostats push the fabric into the jaws as far as you can and clamp them closed tight.
now give the end a bit of a sideways twist and pull towards yourself pushing up on the outside as you go.
this part is difficult to get going so you may have to restart it a few times.
once the tip is turned the rest of comes out pretty quickly. Do this to all 4 limbs and the body.

I stuff the arms first, mostly to get them over with, I wrap some thin strips of leftover batting around the end of the hemostats and shove them all the way down to the tips. Then just keep stuffing until it's full.
Repeat for the other arm.
The legs you only stuff to the knees where you will stop and sew a line 2-3 times across so they bend. 
continue stuffing until they are mostly full, do this for the body also. You want to leave a little room at the end of each leg and the body for sewing it all together.
I will pin the legs onto one side of the body, sew them down. Then flip the body over and pin the other side down, folding over the seam allowance, prior to making a straight seam to attach the legs.
Now You will need a long needle, I have used a basting needle, to attach the arms.
I will position the arm till it looks right then pin ti on in 2-3 places and sew around it until it's on good and tight. 
don't worry if you leave big gaps I go around 2-4 times until I get them all and the arm is on and not wobbly.


Now on to the hair! This is the fun part.
I use Home spun by Lion brand,
for my dolls hair because it is versatility. if I want it to look like straight hair or curly hair this stuff works great.


you will need about 12-16 strands of however long you want it, make it a little longer as you will be trimming it later.

I give you a few links1, Link2, Link3, for sewing on hair as frankly, they do a better job than I could


 I hope this was helpful.
Let me know if I need to clarify anything.


LinkWithin

Related Posts with Thumbnails