Translate

Showing posts with label Boxes. Show all posts

Sunday, April 23, 2023

Making the parts for the box


The final steps here are to cover the inside panels with whatever you are using for that be it fabric, like I am or paper. 


I use a medium heavy card for the insides under the fabric of both the out side and inside of the panel


Specifically I use campaign/ad flyers. 


I get what seems like 100's of them in the mail every week and would rather use them than recycle  or worse just throw them out!
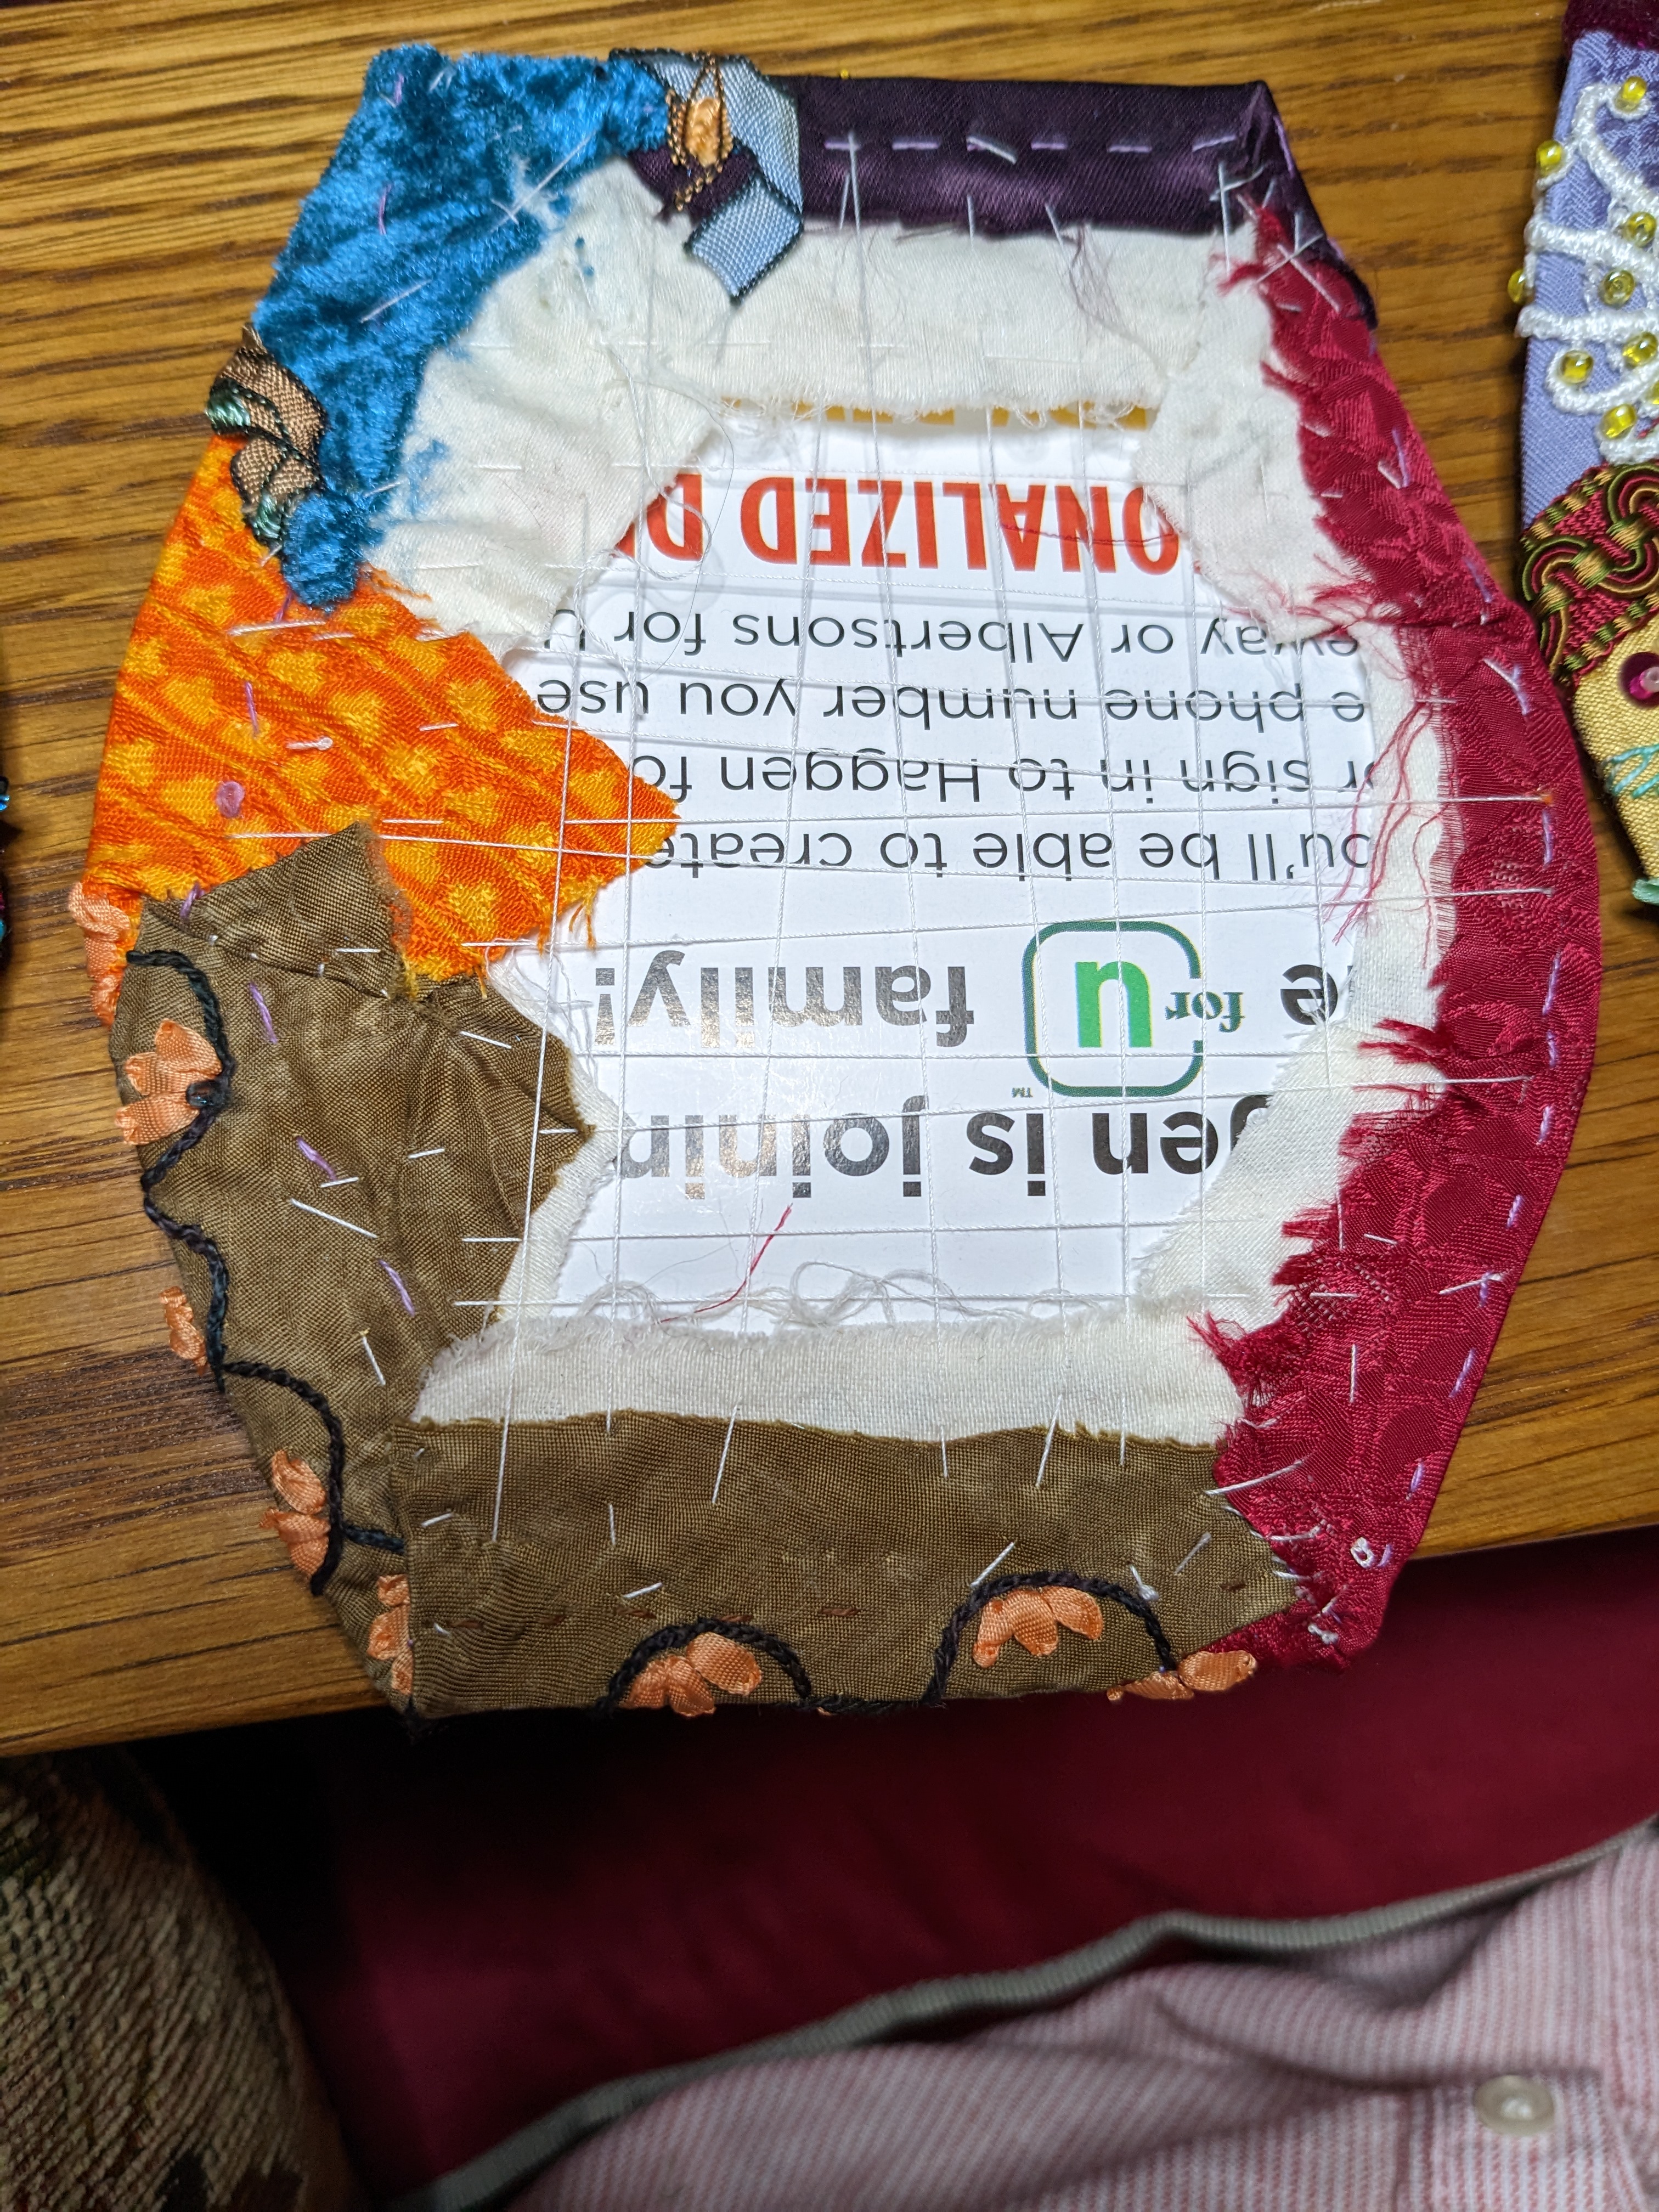


You can either glue the fabric to the card or sew it to the card as I have done here with a back and forth lattice.

do this to both sides

Remember it's the inside, it doesn't have to look pretty!


Then take all your inside panels and sew them together edge to edge

Sorry I have no pictures of this part


I will then Glue the out side panels to that making sure to pin or otherwise clip the panels together 

for 24 hours so the glue can dry fully


I will then trace the bottom on 2 pieces of heavy card one to fit inside and one a little bigger for the bottom outside

Cover them both separately because you are going to then glue the wrong sides together.


While it's open, decide here whether you want a lid because you need to trace out the shape on heavy board for this, the same way you did for the bottom.

Also; when you sew the top on, you will only be sewing it to one side 

so you also need to decide which side you want at the front.

Also before you glue the two sides together to give it a handle, a pull and / or a closure


Now for the rest of the bottom 

sew the inside to the inside, all the way around. this is to keep corners and creases, 

where little things like beads, that can get stuck in them, to a minimum.

This is the  frustrating and difficult part, 

as you have to sew the edges together after the whole thing is assembled You can do it, just go slow.


Though you will make it easier on yourself if you do this part before you put the outside panels on!


Now glue the bottom base to the bottom. leave for 24 hours and put a few hevyish weights on the inside so the glue adheres firmly.


The last detail is, what to use as piping? 

To cover the gaps on the outside panels. because there will be gaps! 

It can be anything from lace, ribbon, cording or gimp.


Thursday, April 13, 2023

CQJP 2023 Parrot Side Lamp box


 There I think this panel is done. 


I finally was able to wrap my head around it and finish.

I added a few beads and some folded flowers to it and splammoed it all together.


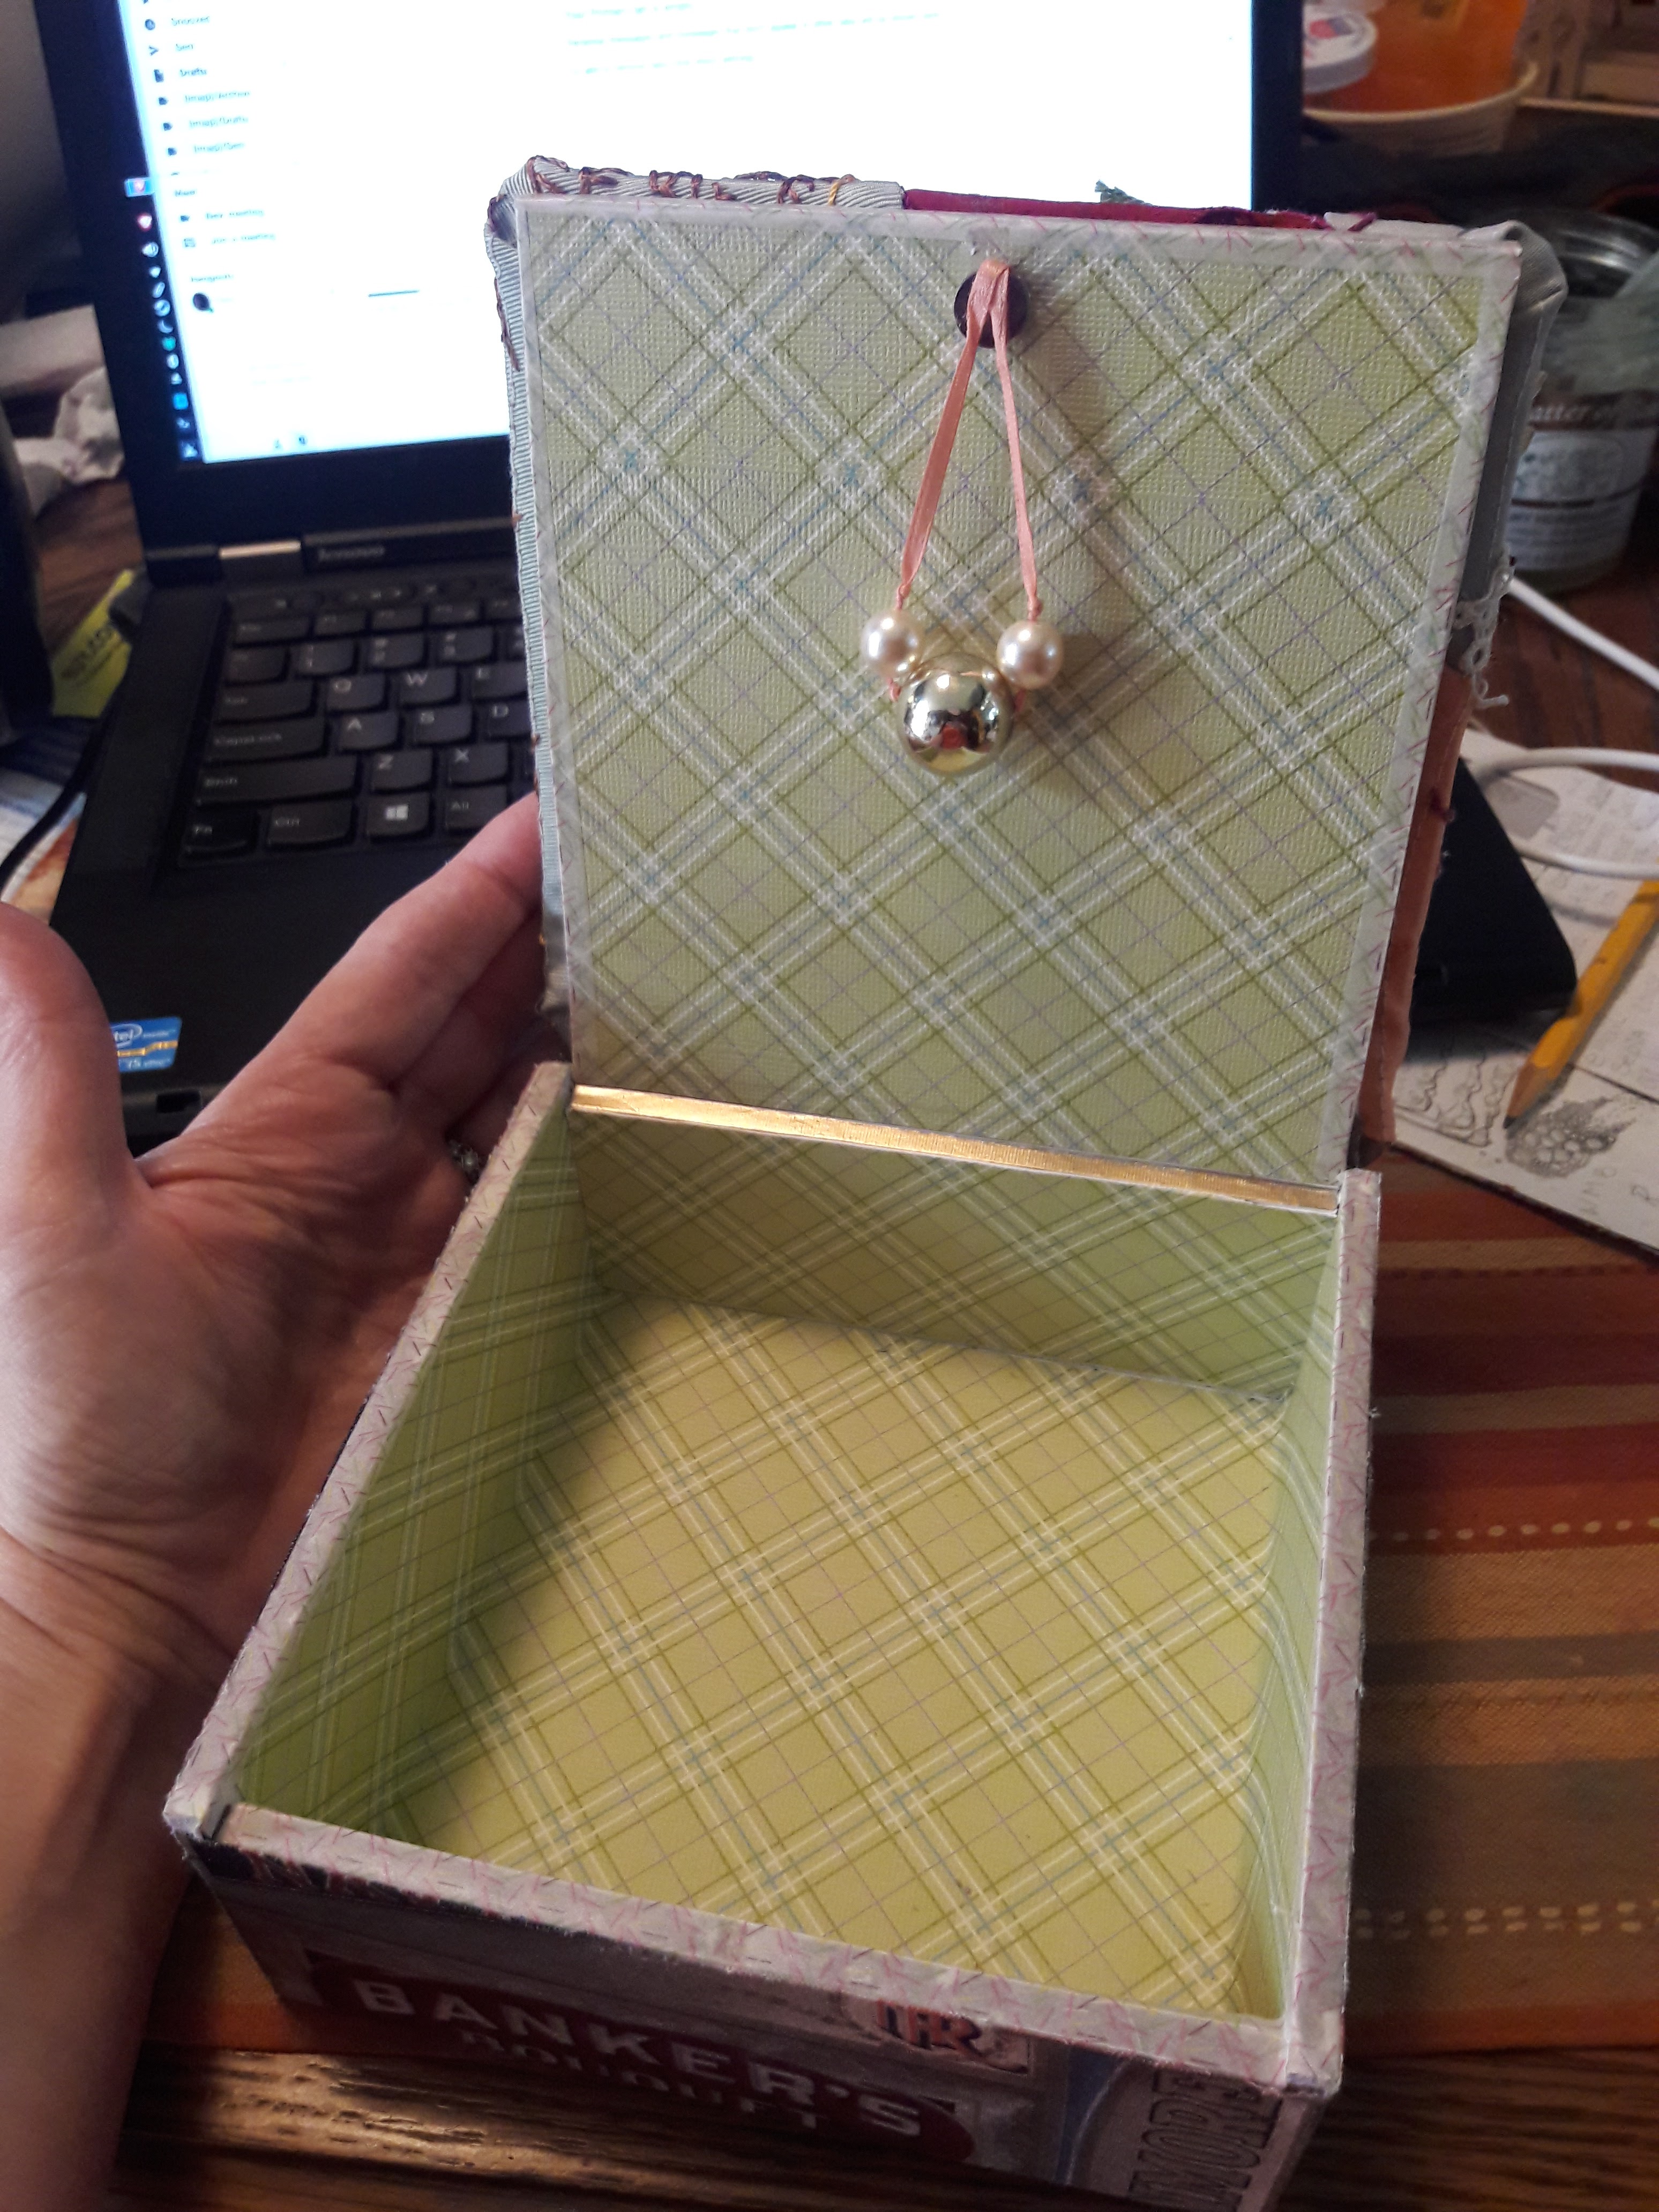
I also put together the inside of the box and attached all 4 sides that are done, 


so you all can see why I was, am, calling this a lamp box


It all has more to do with its shape when finished than anything else


As you can see the rounded sides when put together give it a hexagonal shape 


Which then gives it the bowed out look of old lampshades


This is similar to the Hexi box I made last year (?) 

but was so, so much easier to sew together with the rounded rectangular panels 

instead of the 6" hexagons I used on the other one.

Remember kiddies rounded edges is your friend when doing this sort of project.


Here she is on her side of the box

and below is it from the side with 2 panels showing


I have one more panel left to do  

then I need to figure out what kind of trim to use
between the panels 

Because that gaposis just looks terrible

I also need to make a bottom for it 

otherwise it's just a straw


I just got a load of new cigar boxes to play with so 

there will be projects in the works for those eventually


The first of which is this nice one on a white Cohiba box

That panel fit the lid perfectly!


Thursday, November 10, 2022

Pink Jacobean box

 No I haven't a better name for it right now.


And as usual I forgot to take pictures until I was mostly done


so here's a picture of the back!


I used a pink silk satin scrap from my stash 

which should have been bigger but whateves

we'll figure out the how when were done right?

So the jumping off point were a bundle of specialty threads

in greens and oranges that caught my eye which have been languishing in my stash for eVer

It's a skein of multiple kinds of silk thread called Oliver twists one offs by Jean oliver

Which I supplemented with PatinaRG brand rayon cording,

some random Chinese silk cording and  watercolors by Caron, Threadworks, DMC etc. bits and peices


I then covered a cigar box with paper inside and most of a fat 1/4 outside

and some cute washitape to finish the ratty ends


And as you probably guessed my scrap was too small so I had to add a 2" border of the bottom fabric around it to get it to fit

after mounting it on a backer board, a piece of card board cut to fit the top, I noticed that the edges were wonky!


Aghhhh!


A bit of 1/4" Velvet ribbon to the rescue!

I hand sewed that around the wonkiness to hide the transition from silk to cotton because it was really, really wobbly!


I got it as straight as I could but you will notice


once I point it out.........o0


That when you look at it straight on it 

bows out in the middle

Which goes to demonstrate, if you stand back far enough no one will notice!

Except you


Because you are your worst critic!


Stop that! 


It's beautiful!


And done!

Oh, yes, there are a few beads thrown on there for sparkly


You knew I couldn't get away without a bit of  added pop right?


It's not worth doing unless it unnecessarily complicated

and fussy


I might be getting the hang of this

Tuesday, April 26, 2022

Cathy's Block is now a box!

I finished this block and mounted it quite a while ago but then it sat on my table with nothing to do 


but look pretty fabulous for a long time 


until I got my excrement together to finish what I intended to do with it


Even the inside of the box was ready


I just hadn't yet decided on the fabric for the outside of the box


So needing to get SOMETHING done


I finally shifted myself and went through my fabric stash


And there you go

Easy peasy

Bob's your uncle 

Saturday, November 13, 2021

I made a basket OR what you can do with your extra hexies

I had these extra hexies laying around gathering dust


What to do?


Make a thing!


A useful thing!


These are all hexies I made teaching others how to Crazy quilt

I already have a medium large wall hanging that


Yes, I could add to, But that would be boring.


So I put 4 together to make a sewing basket.

I First I measured all the hexies and squared ( or as straight as you can make a hexie) up the edges

cut 4-1" smaller out of thin card stock, I Recycled some envelopes from the mail

4-2" larger for the lining on the back

I then mounted the cq pieces on the card stock


then sewing the back to the other side with a whip stitch

Then you whip stitch them all together to form a box

 because of the shape this is difficult  but not impossible, with lots of pins and a good thimble.

and patience, don't forget your patience!


Whip stitch the bottom to help it keep its shape 

or it gets all wobbly on you

Also using whip stitch, sew on trim 
(I used a gold braid) to hide all those wonky stitches 

and the odd dot of blood because yeah that happened a lot.


4 - 7" hexies make a pretty big basket!

 Having finished this project, things I would have don differently.

Made the middle corners rounder because turning that corner and pinning, was difficult, It kept wanting to spring apart.

I may still make a lid for it

Also may make another one!


Sunday, October 4, 2020

I Finished something!

Even though it is one of those dratted new projects I wasn't already working on


I figured I had to start somewhere


This cunning little box is one of Mary Jo Hiney's kits


It came with all you need, except the fabritac glue, 


And nice clear instructions, to finish in a day


Though I used my own ribbon for the yellow Rose


Easy peasy


Just be cautious with the glue and let it dry between stages


LinkWithin

Related Posts with Thumbnails